Showing posts with label art. Show all posts

Saturday, 26 July 2014

Art Department Misc: Racing Crabs, Grafiti and Danger Lunch Tables.

The art department is never boring. 

We have our own underground hermit crab racing ring, scribble on anything we feel like and sometimes can't tell if that danger tape around a trashed bench is/isn't some student's homework. 

What does your department do? 


Friday, 25 July 2014

Tangent Gallery Installation


During semester one, the Printmedia department held a silent auction to raise funds for the Grad Show at the end of the year. We called the exhibition, 'By the End of the Day', because none of us submitted an exhibition title in time. As a class we had three hours to prepare the Tangent Gallery and install an artwork from each person. 


To prepare for the exhibition, we had to clean the space of all hanging marks and any smudges on the walls that would detract from our work, such as the one below. 


Some of us used erasers to remove the graphite lines before another student (me) came along with the undiluted gesso to cover any remnants. 


Butcher's paper was rolled along the gallery aisle on each side for a few reasons: it protected the carpet from any gesso drips and protected our artworks while they were on the floor from any dirt. We systematically trialed our installation by laying all of the artworks on the floor, so we could see the arrangement before it was stuck to the wall. This method also let us move the pieces with a minimal risk of bending or fingerprint/oil damage. 


 There's no point in putting down butcher's paper if you don't wear your socks! With all of our shoes removed, not a single person in class had odd socks. 

How strange. 


The tutors in the print department were well stocked with hanging equipment. We had just about every means of hanging available from screws and drills, tapes, nails, hammers, removable tabs, velcro, gel spots and Magnart  hanging magnets. Blu tack is no go - it stains your artwork and the walls and can tear the paper fibre. 

I used Magnart magnets because they were discreet, but also strong enough to hold my work in place. The Tangent Gallery can be a little bit of a wind tunnel and only half of my piece was secured to the wall at any time. 


Because the Tangent Gallery slopes, the leveled height of each artwork had to be calculated individually. We worked off and average of 160cm, or eye height of the average person, as the centre of the work. 


The heavier installs, such as Jess's suggestion box, needed to be screwed into the wall. 


That's me (above left). This day was one of the few days where I actually wore matching socks. The washing machine has eaten the rest. 

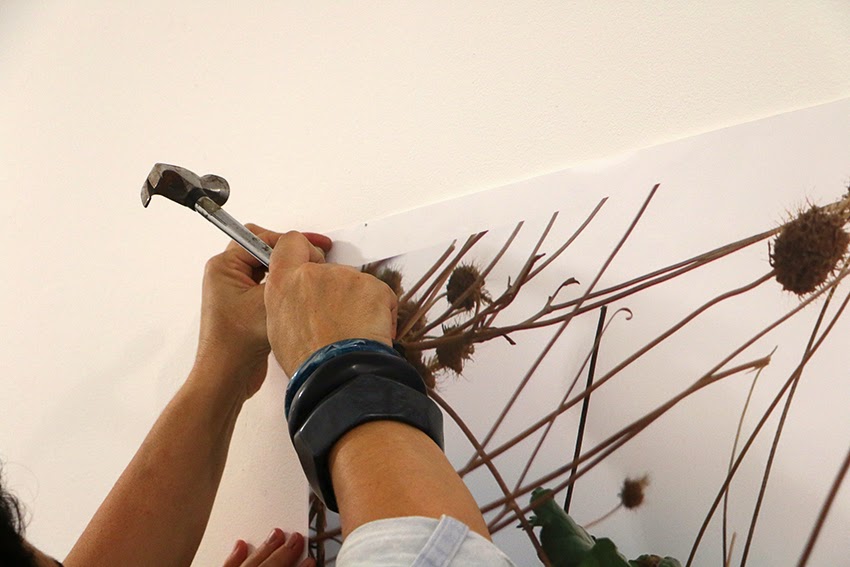
Here I'm applying some blue scotch tape and double sided tape to me print and the wall, to hold the plastic or moveable part steady. 


The only digital print present was nailed into the wall because of the border allowance. 


With the Tangent Gallery half filled, most who had finished installing their own artworks hung around to help out those with more complicated installs. The most devious questions were about home much, or how little, of an artwork to hang.  


The Tangent Gallery installation was complete!


Tuesday, 22 July 2014

EXAM: Combined Printmedia and Art Project Sem. 1

For my first semester exams, the two units of Art Project and Printmedia were marked in a combined exam. Below are some photos from my presentation, as well as a summary of the exam process. Some people would consider this format rough, but I'd rather have a fifteen minute presentation than a three or four hour written one. 


PRINTMEDIA


ART PROJECT 291


The exam process was as follows: 
   1. Set up in a panic an hour and a half before your time slot (I got 11:30am). The work of both units must remain easily distinguishable and ALL work including crappy sketches, notebooks, failures and successes must presented. 
  2. The three markers arrive and are tutors from other departments that have never seen your portfolio before. Luckily I was allocated a sculptor, photographer and painter. 
   3. Introduce your two portfolios with an artist statement for each unit. 
   4. Walk out of the room for five to ten minutes. 
   5. The tutors will call you back inside. You now have five to ten minutes to answer any questions they can and will throw at you. 
   6. Your exam is over! Now quickly tear everything down and toss it carelessly in the box it came in. Since you are a nice person, help the person after you to set up because you will probably need their help later. 

Because I had only two hours sleep the night before, I went back to college and slept until dinner. 
End of exams. 


Thankyou Sal for sending me these photos from your phone!
The only thing I forgot to bring to my exam was my camera, which was inconvenient. 

Friday, 4 July 2014

Growing Crystals at College: Day 2

More crystal growth progress!
This project was produced for the BA Fine Arts unit, Art Project.

The copper sulfate crystals below are photographed at two days old. 


I expanded the growing setup from the first day. I found some ceramic saucers and glass ash trays in the op shop for fifty cents each and decided to start farming seed crystals with them.

The main task of the day was to refresh the copper sulfate mixture in each tray.  

Closeup of the new glass ash trays. I set some seed crystals from the plastic plates into each bowl to promote crystal growth.

The balsa to the top left was removed from the copper sulfate solution as a physical growth record. 

Balsa wood soaked in copper sulfate solution. 

Detail view of the removed copper sulfate soaked balsa wood. 

Detail view of copper sulfate soaked balsa wood. Two pieces were isolated into glass jars to promote stronger crystal growth. 

Seeded copper sulfate solution in a glass. 

The copper sulfate solution had begun to grow out beneath the cockroach. 

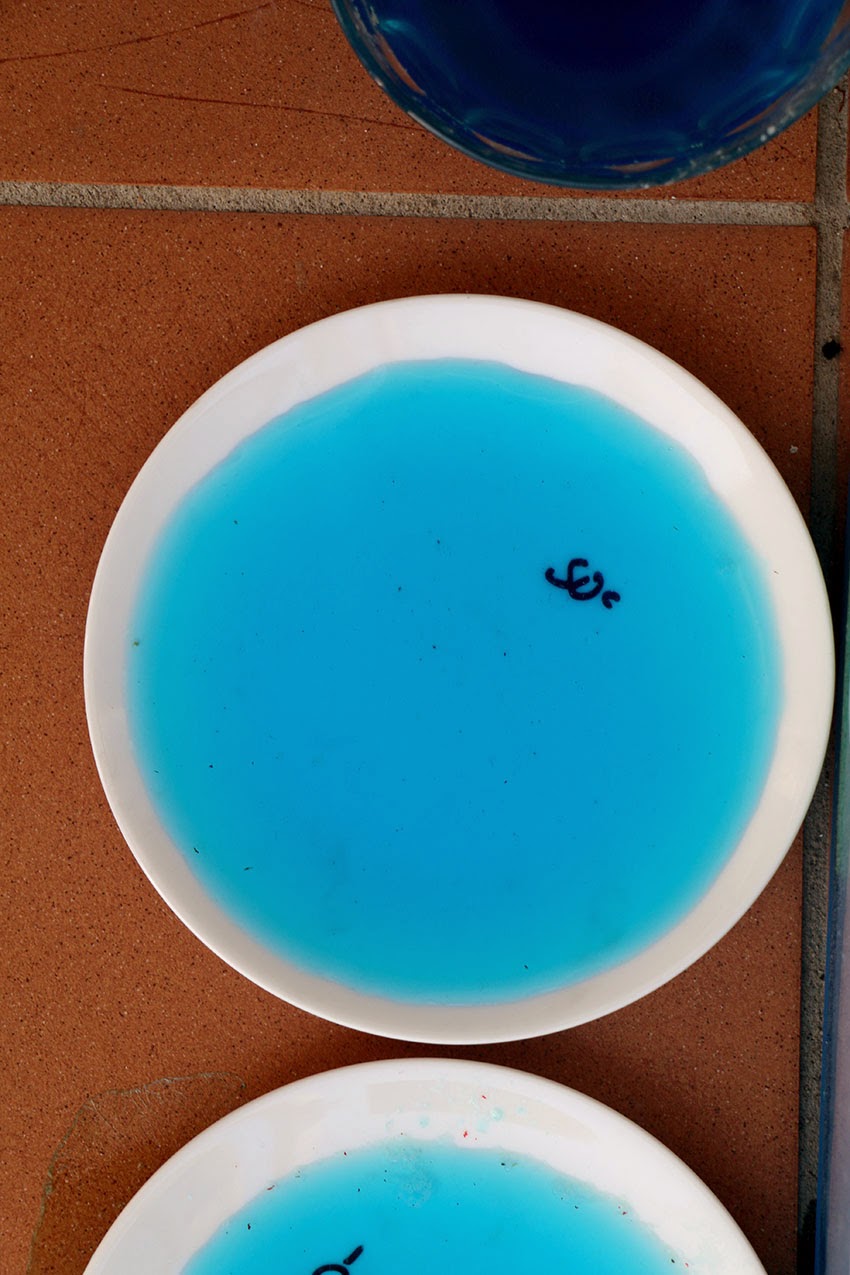
Ceramic plate with copper sulfate solution- no seed crystal. 


Ceramic plate with copper sulfate solution- small, flat seed crystal. 


Ceramic plate with copper sulfate solution- larger, flat seed crystal. 


Ceramic plate with copper sulfate solution- loose cluster of seed crystals.


Ceramic plate with copper sulfate solution- bonded cluster seed crystal. 


Copper sulfate crystal growth progress of the plastic plates. 

Copper sulfate solution only- small, scattered seed crystals have grown. 

Copper sulfate solution with fibre glass- small, scattered seed crystals have grown, but have formed predominantly on the fibre glass. 

Detail view of the edge of the crystal covered fibre glass. 

Detail view of a plastic plate, filled with copper sulfate solution only. I clustered the seed crystals together to see if they would, in the coming days, bond together into a single, larger crystal.